Huli avalakki

DSC_0308_1294

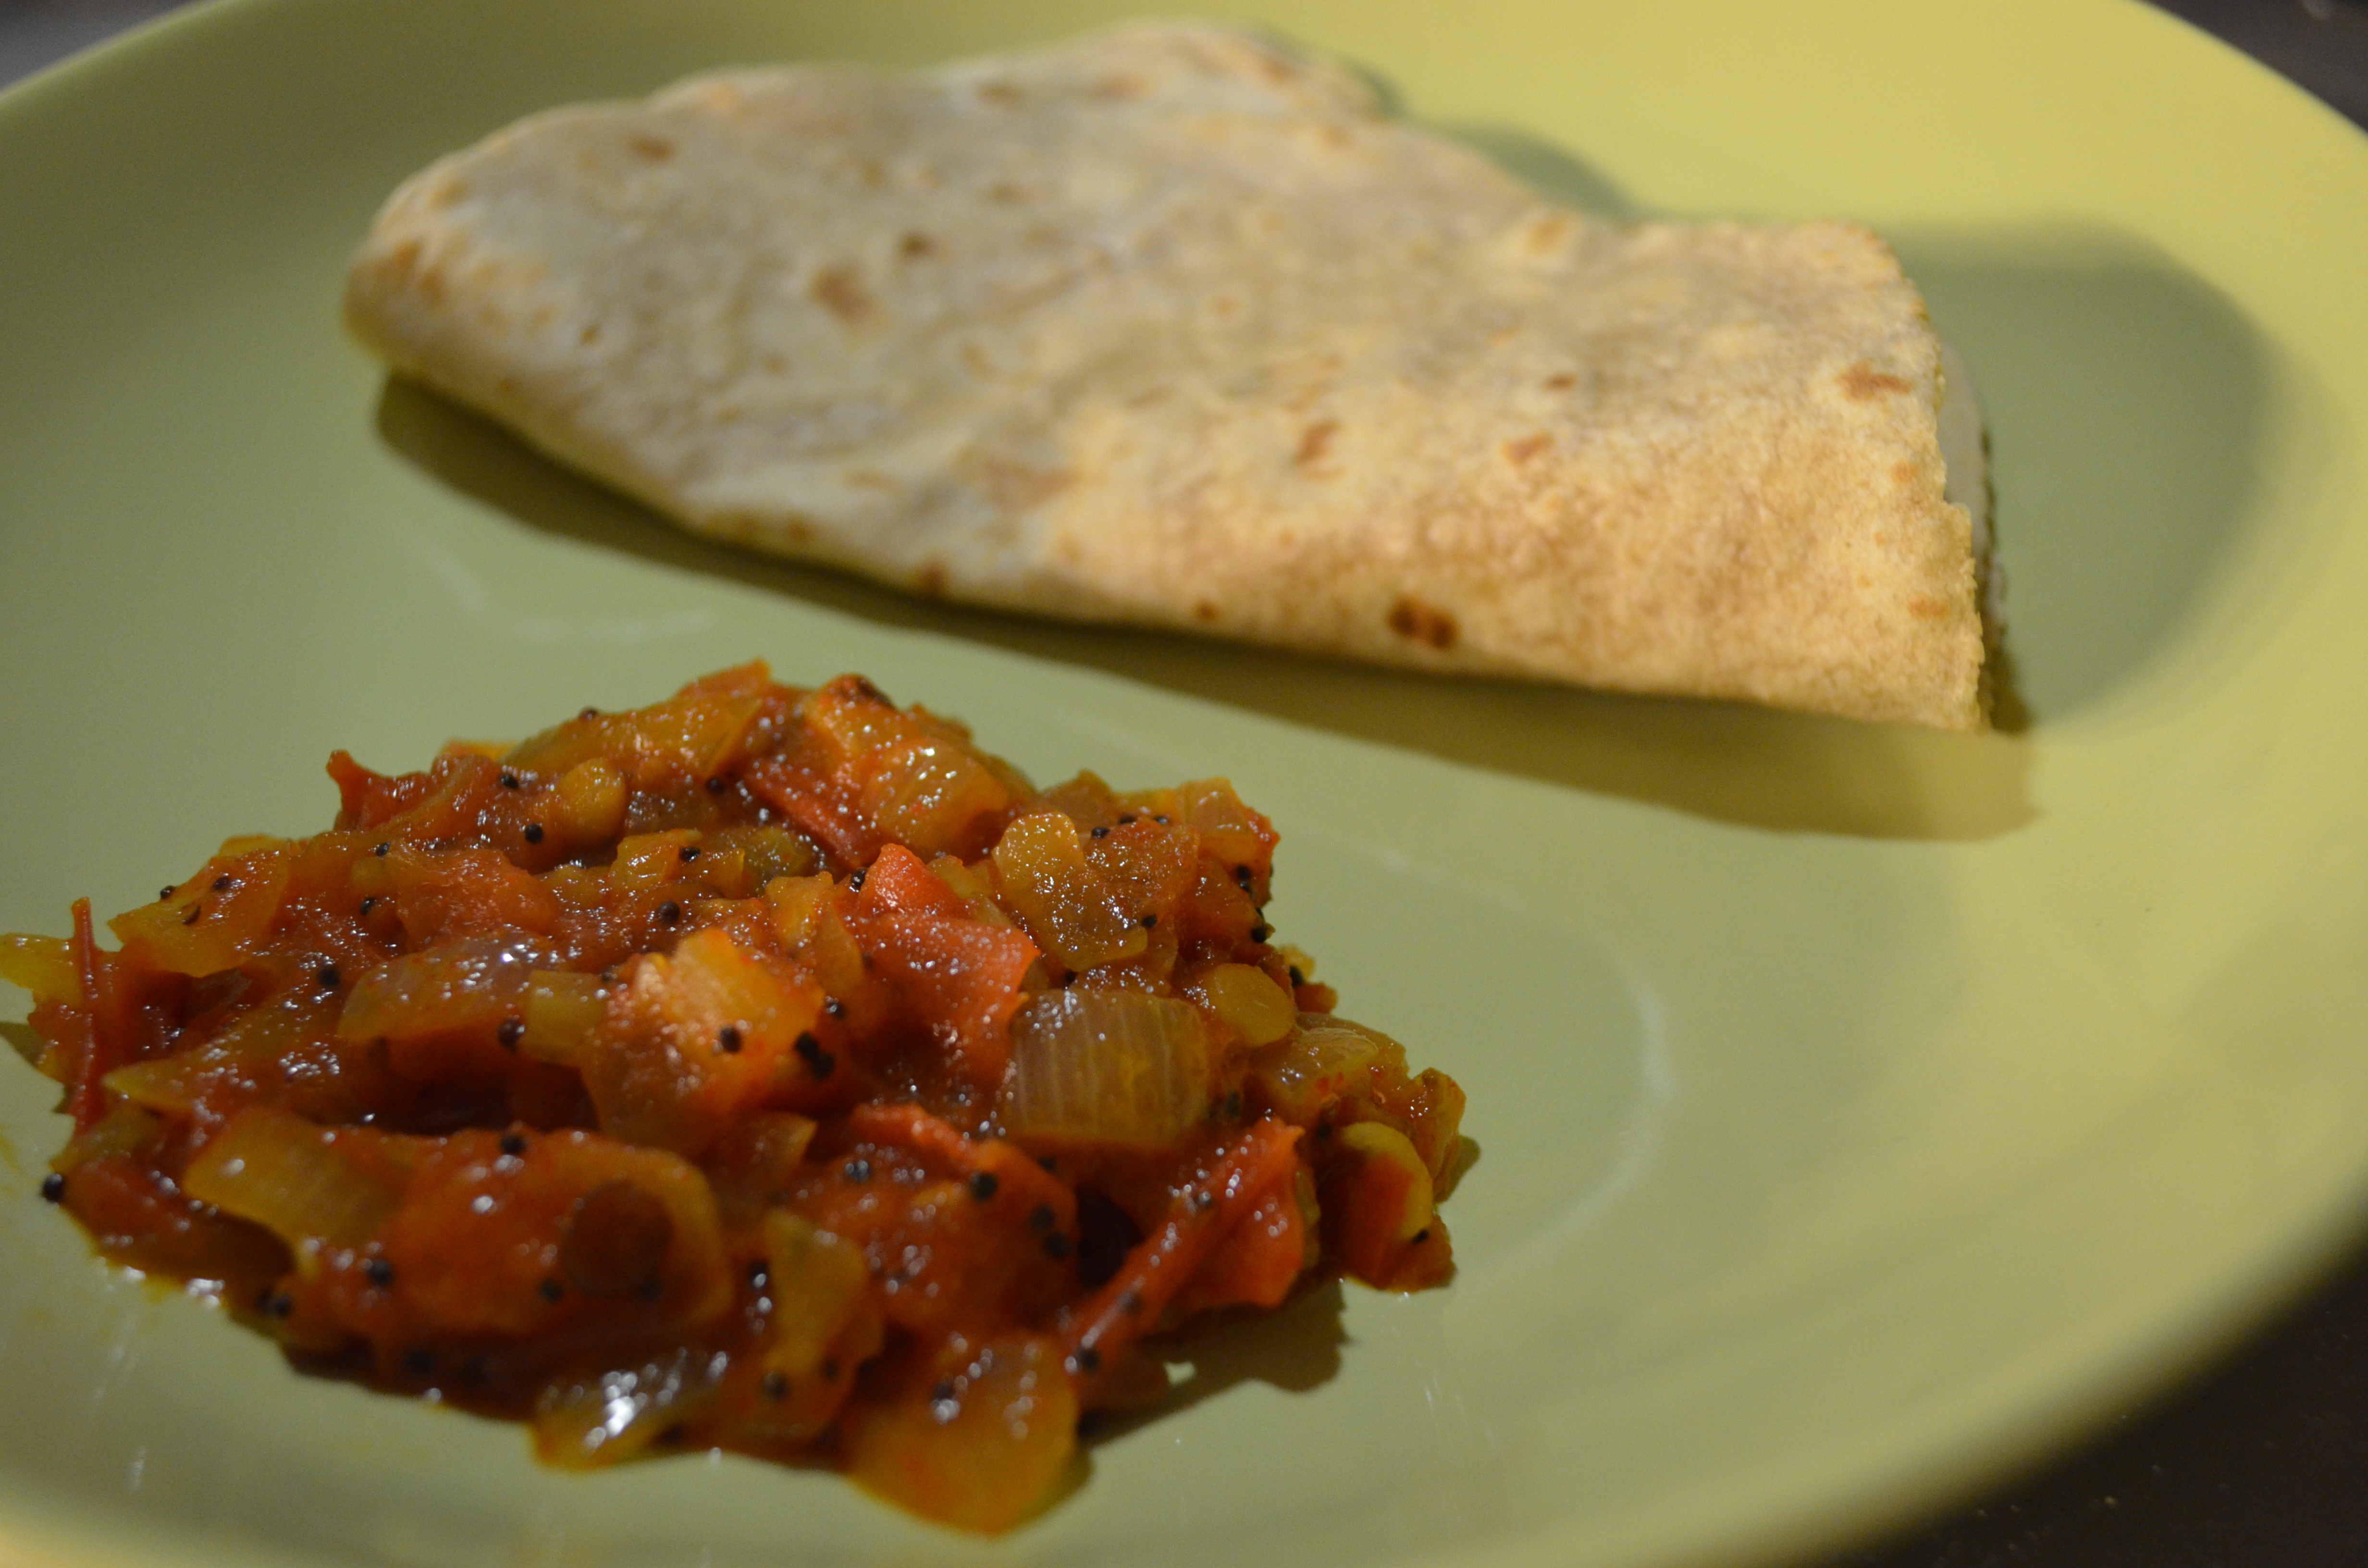
Looks yummy doesnt it?? Hmmm.. wanna know how its done? Well.. read on then! Enjoy your huli avalakki. 🙂

Ingredients:

  1. Poha ( Aval, Avalakki) – 1 cup
  2. Sambhar powder ( Mom made or MTR rasam powder will work fine! ) – 2tbsp
  3. Jagggery – 2 tbsp
  4. Tamarind – lemon sized or tamarind paste – 2 tbsp

For the seasoning:

  1. Mustard seeds – 1/2 tbsp
  2. Hing or Asaefotida – a pinch or two
  3. Til seeds or ellu – 1/2 tbsp
  4. Curry leaves – a bunch
  5. Groundnuts – a handful or more if you like!
  6. Red chillies – 3 to 4 broken into half
  7. Turmeric powder – a pinch or two
  8. Channa dal – 1/2 tbsp
  9. Urud dal – 1/2 tbsp
  10. Dried coconut – 1 tbsp

Method:

  1. Add the sambhar powder along with jaggery, tamarind and salt in a small pot. Mix it with 2 cups of water and heat it. It need not necessarily boil but the jaggery should melt and the tamarind should become pulpy. This mixture should be a little strong in taste as you will be adding this to soak the poha.
  2. Next, take the poha and blend it coarsely with a mixer. Make sure not to powder it! You can skip this step if you want, but the poha when broken into smaller chunks absorbs more of the spices and retains it better.
  3. Mix the poha with the sambhar powder, jaggery and tamarind mixture. Make sure that there is enough water to soak the poha. It will absorb the water very quickly so be careful in this step. Add enough water and let the poha soak for at least 20 – 25 minutes.
  4. Now, take a pan. Add oil, add a little extra oil since poha gets dry and tastes bland! After oil heats up, add in this order – mustard seeds, groundnuts, fry till groundnuts get crisp then add hing, chana dal, urud dal, curry leaves, till, turmeric and then the red chillies.
  5. Then mix this seasoning with the poha, heat it up a little bit. Add the dried coconut and mix well.
  6. Your poha is now ready! yay! 😛

Guten apetit!

DAL AMRITSARI

This lentil curry tasted sublime when it was prepared for a potluck dinner last time. I cannot forget the taste, it still lingers on my taste buds! It may seem a lot of work but seriously it is really simple. You can prepare it for a weekend dinner with friends. Everyone is surely going to love it.

Ingredients:

1 cup Urad dal
½ cup Channa dal
2 tbs. chopped fresh ginger root
1 tbs. chopped garlic
3 finger hot green chilies chopped
½ cup diced onions
½ cup diced fresh tomatoes
1 tsp Kasoori methi
¼ lb. butter
¼ cup chopped fresh coriander stems
½ cup whole milk
Salt to taste

Cooking time: 4 hrs


Method:
Spread both lentils on a flat dish and pick out any stones and discard. Thoroughly wash the dal in running water and soak it in warm water for about an hour.

Add the drained dal in a heavy bottomed pot and add about 1 teaspoon of salt along with about 8 cups of water. Bring the water to a boil on high heat and then reduce the heat to low. Remove and discard any scum which appears on the surface. Now add half of the ginger and garlic to the dal and stir it. Add the coriander stems, cover the pot and let it simmer until two-thirds of the liquid has evaporated and the dals are almost cooked. Cook for at least 4 hours (Yes! It needs to be cooked for so long!).

In a small frying pan heat the butter and the onions and the remaining ginger and garlic and sauté until the onions are slightly browned. Now add the green chilies, Kasoori methi and the tomatoes and stir well. Cook this mixture until the tomatoes are fully mashed.

Transfer this tempering mixture from the frying pan into the pot and stir well and add the milk and let the dal simmer for about 15 minutes. Taste the dal to make any adjustments. Just before serving garnish the Daal with julienned ginger root and fresh coriander.

The dal is ready to be served with tandoori roti or phulka. You may add extra butter or ghee just before serving.

Coconut cake with chocolate frosting

Hello everyone! Today I wanted to write about this chocolate cake I made yesterday. Since it became a huge hit with my friends, I wanted to share it with you too! So that you can make this and enjoy it with your friends. It may look complicated, but believe me its a piece of cake.. uhh, literally too! 😛 So enjoy baking!

It took me around an hour and a half for the whole preparation and baking. I would recommend you to bake the cake a day before and then allow it to cool for a day before you go ahead with the frosting and layering. It is a layered cake, so you can do the layers in two ways:

1) Bake 2 cakes and then layer them on top of another or,

2) Bake one cake and then cut it in half (this is the tricky part) and then layer the 2 halves.

It depends on your mood, number of people and if you want a really good layer then I suggest you opt for number one.

Here is the recipe:

Ingredients:

For the cake:

  • 2 1/4 cups all purpose flour ( 2 1/4 cups ~ 300gm)
  • 2 tsp baking powder
  • 1/2 tsp baking soda
  • 1/2 tsp salt
  • 100gm butter, room temperature
  • 50ml vegetable oil
  • 1 1/3 cups sugar
  • 4 large eggs – separate the yolks and the whites
  • 1 tsp vanilla extract
  • 1/2 cup coconut milk and 1/2 cup buttermilk

For the filling:

  • 75g sugar ( or 6 Tbsp )
  • 1/2 cup sour cream
  • 2 tbsp coconut milk

For the frosting:

  • 3 tbsp coconut milk
  • 1 chocolate bar
  • I bought a ready made chocolate frosting from the shop. You can see it here:


Procedure:

  1. When you are baking, always preheat the oven. This is essential. I keep my oven temperature at 180 degrees. It depends on your oven type, how thick your baking tray is and also the type of cake you are baking. Experiment and find the best suited temperature for your oven.
  2. Now that is done, separate your eggs into yolks and whites.
  3. Beat the egg whites thoroughly with a hand mixer for around 2 minutes till you can see stiff foam on the top. When I say stiff, it is really a thick foam which does not dissolve easily.
  4. Mix together salt, baking powder, baking soda and flour in a bowl with a spatula.
  5. Take sugar, butter and oil in a big bowl and mix them with a hand mixer till they are light and fluffy.
  6. Add the egg yolks and vanilla essence to this and mix again for around 4 minutes. The mixture should be smooth and fluffy.
  7. Now comes the crucial part, you need to add flour, coconut milk and buttermilk alternatively to the mixture and each time mix well. This is done 3 times and it ends with the flour being the last addition. So, first add flour, mix well times with your hand and then beat with the hand mixer. Then add coconut milk and beat and then add the buttermilk and beat. So repeat this 3 times. And divide the ingredients accordingly.
  8. Now add a little bit of the egg whites and mix with the hand mixer. You can then add the rest of the egg whites and fold it in with a spatula. DO NOT USE THE HAND MIXER TO FOLD IN.
  9. Pour the batter into a baking tray lined with butter and a little bit of flour and bake it covered at 180 degrees. I usually cook my cakes covered with aluminium foil for the first half an hour because I find that it cooks evenly and does not fluff up too much in the middle. It took my oven around 1.25 hours to finish baking. It again depends on your oven and the cake density, so keep a check on it. And bake it till a toothpick inserted in the centre of the cake comes out clean.
  10. Turn off the oven and let the cake stand for 5 minutes inside the oven. You could then take it out and cool it on a wire rack. I wanted to use the cake for frosting immediately, so I just let it cool under a fan! But, its better that you let the cake cool down slowly.
  11. For the filling, mix all the ingredients together in a bowl with a hand mixer and spread it on the layer below (which maybe as I told before: lower half of the same cake or a separate cake) and place the upper half on top.
  12. For the frosting, first I grated the chocolate bar. Then I microwaved the ready made frosting for around 3 minutes and then added coconut milk and the left over filling mix. Spread the frosting on the cake and sprinkled with the grated chocolate bar.

Here’s  a pic of the beautiful cake

DSC_0186_1172

Tangy tomato gojju

Are you wishing for something tangy and spicy? Here is one simple curry that is so simple to make and yet so tasty! I call it tomato gojju. You just need few stuffs and you can enjoy it with rice or chapatis. Let me start.

Ingredients:

  • Tomatoes:onions – 2:1 ratio (so if you are making for yourself for 2 meals then add 2 big tomatoes and 1 big onion)
  • Chilli powder – 1 small spoon (or you could add 1 or 2 green chillies)
  • Garlic – 2 cloves
  • curry leaves, coriander leaves (optional)
  • salt and sugar – to taste
  • Mustard seeds – 1tsp
  • turmeric powder – 1tsp
  • chana dal and urud dal – 1 tsp each (again optional)

I also add capsicum to this, so if you have one in your fridge then add it, gives a good flavor. Or else, if you have an egg or two you could also add that. I will explain the way to add eggs in the section below.

Method:

  • First, you need to finish all the chopping. Chop onions and tomatoes into medium sized cubes. Also chop the chillies (if you are using them) and garlic finely. Chop capsicum into small pieces if you are adding them.
  • Add oil in a pan and after it gets heated up, add the mustard seeds, chana dal and urud dal to it. Then add curry leaves green chillies and garlic. This is the basic seasoning you will find in most of the South Indian recipes.
  • After you are done with this, add onions and a little bit of salt. Let it fry for at least 5 – 10 mins while stirring continuously. Once the onions start getting a little brown (not too much!!) add the tomatoes. Let it cook for a minute or two. Then add sugar and salt as per your taste, turmeric powder and chilli powder.
  • Note1: If you are adding capsicum then add it now.
  • Note 2: If you are adding eggs, then first add some water to the mixture just so that it gets a little watery. Then just crack eggs on top of this mixture and let it cook on low heat covered with a lid. (DO NOT stir it after this point)
  • Let this whole mixture cook for some time on medium flame till the tomatoes are all squished up and you get a nice flavor. In the end, garnish with finely chopped coriander leaves.

And that’s all folks! Enjoy this curry with hot rice or chapattis! In the picture below, I made a simple gojju without any additions not even coriander leaves and curry leaves, and still it tasted divine!

Hot tomato gojju with Chapati